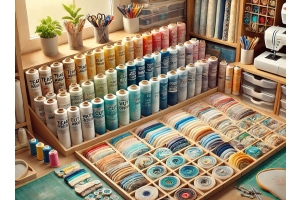
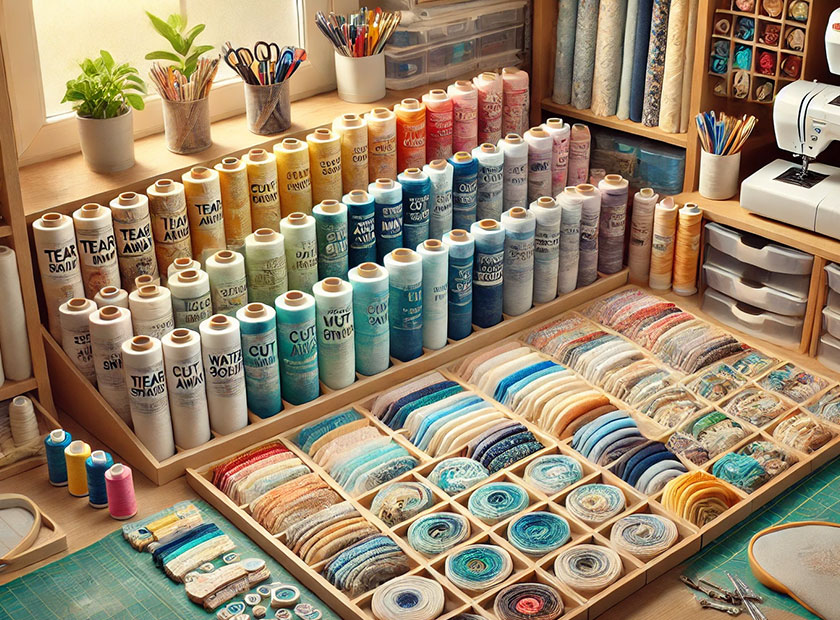
Stabilizer Handbook: Tips, Types, and Techniques
How To Use Different Stabilizers For Embroidery
To ensure the success of your embroidery projects, stabilizers are a must-have item. Such materials can be underneath the fabric, over the fabric, or even within the layers of the fabric to secure it from shifting, stretching or pleating during the time of stitching. Despite the fact that there are many different types of stabilizers, it is important to always use the correct one regarding the fabric and design of the embroidery to be undertaken. The following are the 5 embroidery stabilizers and details on how to use them.
Cut-Away Stabilizer
Cut-away stabilizers are great for stretchable or movable fabrics like knits/t-shirts. The fabrics are so shift prone that even the embroidery needle can tend to move the fabric, that is where the stabilizer comes in to assist and create a solid base to avoid any spoiler issues. Sometimes, it is not removed after stitching and stays together with the fabric, supporting the embroidery and preventing it from improper bending even after washing many times.
How To Use It:
Step 1: Prepare a piece of cut-away stabilizer that is a little larger than the embroidery hoop.
Step 2: Advancing towards the fabric, position the stabilizer which is already in the hoop. Although both the fabric and the hoop are within the hoop, they are not loosely secured.
Step 3: When you are done with the embroidery, trim the surplus cut-away stabilizer with sharp scissors as close to the required design as possible without breaching the stitch.
Why Choose Fabrictex Cut-Away Stabilizer:
This particular cut-away stabilizer we offer consists of closer bonds and more fibers hence stiffer than others. So, whether it is soft knits or stretchy fabrics, the additional thickness makes tighter movement therefore making the embroidery sharper cleaner.
Tear-Away Stabilizer
The tear away stabilizer is recommended for more stable fabrics such as woven cotton and denim which have very little movement during the sewing process. As its name implies, this type of stabilizer is removed easily after most of the embroidery is completed without any trace of the backing. Hence, it is the one used for most designs that do not need much support for the stabilizer.
How To Use It:
Step 1: Take the tear away stabilizer and place it behind your fabric. Then secure the fabric and the tear-away stabilizer onto the embroidery hoop.
Step 2: When you have completed all the sewing, proceed to the removal of the stabilizer, beginning with the edges of the structure. This can be accomplished easily, owing to the perforations that are made by the needle during the embroidery.
Step 3: If there are still remnants of the stabilizer, any excess may be picked off by hand very delicately.
Why Choose Fabrictex Tear-Away Stabilizer:
Fabrictex applied a tear- away’s ability and eliminates the residue that a normal stabilizer leaves which would compromise the design’s efficiency. Some of our tear-away products are made of inexpensive materials that do not function as our competitors rather they perform better while causing less stress.
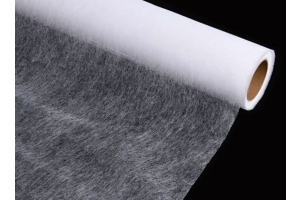
Wash-Away Stabilizer
In general, wash away stabilizers are best in works if you do not want any stabilizer left in the finished product. When working with fine lightweight fabrics like organza or lace or even in freestanding embroidery designs like lace appliques, those aids are extremely handy. As soon as the solvent is immersed, the relief dissolves, leaving nothing behind except the stitches.
How To Use It:
Step 1: Secure the wash-away stabilizer to the fabric using an embroidery hoop, while making sure both materials are stretched evenly and tight within the frame.
Step 2: When the embroidery is done, gently use scissors to trim away the excess stabilizer around the stitches.
Step 3: Place the piece in a lukewarm water bath for a few minutes until all of the stabilizer has disappeared, then wash away any leftover dirt and place the piece on a towel to dry.
Why Choose Fabrictex Wash-Away Stabilizer:
All Fabrictex wash away stabilizers are safe and 100% biodegradable in that they are simply washed away without any trace remaining on your fabric. They liberate the user from worries about stabilizer usage, offer good anchoring during embroidery and vanish without a trace after laundering, making them ideal for delicate projects.
Adhesive Stabilizer
Adhesive stabilizers can be very effective for fabrics that are hard to hoop, or for smaller areas too such as pockets, cuffs, or collars. The same stabilizer has a self-fusing surface and does not require additional hooping for the fabric. This is useful in cases where the fabric may be prone to damage by hooping, for instance, leather and velvet.
How To Use It:
Step 1: Cut a piece of adhesive stabilizer and place it, adhesive side up underneath the embroidery hoop.
Step 2: Next, position your fabric directly on top of the adhesive and press it down with your hands until the fabric adheres firmly.
Step 3: When finished with the embroidery you will then proceed to remove the stabilizer or the design that has gone into the fabric with care.
Why Choose Fabrictex Adhesive Stabilizer:
At Fabrictex however, our adhesive stabilizers remain intact even when there is no fabric stress in the bond or unnecessary strain in the removable area fabrics. The great feature of this adhesive is that it maintains its position and holds the stitches in place during the operation, making it versatile for a wide range of materials.
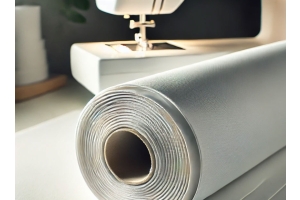
Iron-On Embroidery Stabilizer
Iron-on stabilizers are mainly used for fabrics when the particular design does not automatically come with an embroidered area or there are some areas that require extra strength while being embroidered. It is the way to attach the stabilizing material to the base fabric and it works the best when the heat is applied from an iron. This is especially helpful for lightweight fabrics, such as silk or satin, which tend to shift under the needle.
How To Use It:
Step 1: Measure and cut the iron-on stabilizer and lay it on the fabric with the rough side facing up.
Step 2: Take the warm iron and press it down onto the stabilizer and hold it close to the fabric in a straight form.
Step 3: When you have finished the embroidery part of your project, remove the excess amounts of the stabilizer as necessary – apart from cases when it is required for the design to maintain its integrity for washing purpose, then do not remove it.
Why Choose Fabrictex Iron-On Embroidery Stabilizer:
Fabrictex iron-on stabilizers have been developed to create an even and flat surface that will attach to any type of fabric without compromising the stability during stitch embroidery. Moreover, the freezing adhesive technology incorporated into specific products ensures better efficiency and prevents fabric puckering or shifting as compared with other iron on stabilizers available.
Conclusion:
Selecting the proper stabilizer for your projects will spell the difference between success and failure with embroidery. Regardless, if you are using some stretchy knitted fabrics or light silks or heavy cotton fabrics, the quality of the final design and how much time it will take will definitely depend on what kind of stabilizer was used.